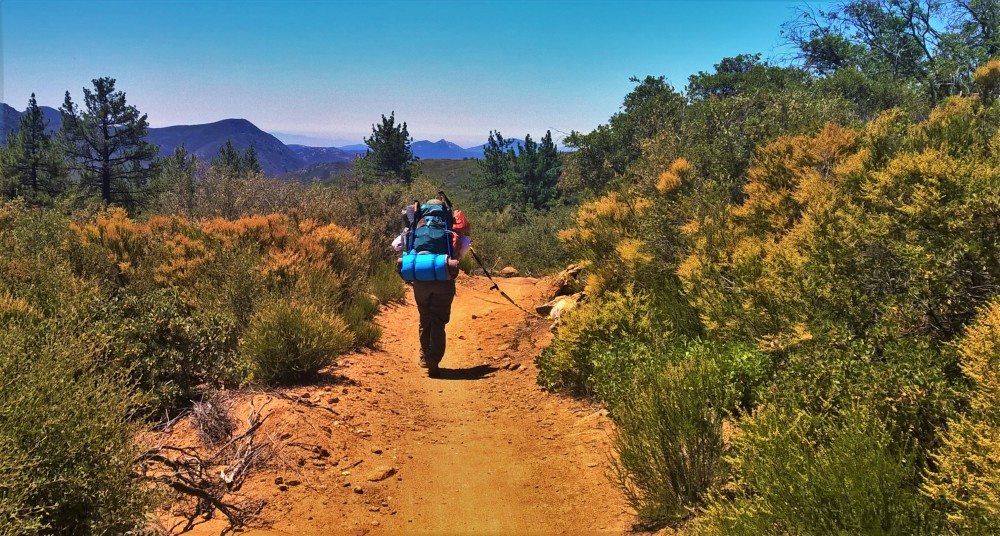
A long hike out in the wild can take its toll on your feet. Blisters are a common problem for hikers caused by friction on your feet as they get sweaty and rub against your socks and boots. As a result, you end up developing hot spots and ultimately develops that all too familiar bubble that we all know…and dread.
Blisters can turn your hike in to a miserable experience. However, measures can be taken to avoid blisters or treat them on your hike.
How to Prevent Blisters While Hiking
In order to prevent blisters you will need to prevent friction between your feet and shoes. To do so, make sure your shoes are well broken in and not too tight for your feet. You need to make sure to keep your socks from getting too damp. Socks can easily soak up sweat and quickly cause issues (there’s a reason that they’re called “sweat socks”). If you’re only going out for a day, you should be fine with the pair of socks you’re wearing but it never hurts to bring an extra pair (especially if you’re going to be hiking by water). If you’re going to be out for a multi-day trip, make sure you’re ready. Pack enough socks for your trip and then add an extra pair for good measure. As soon as you feel that your socks are getting too damp, change them.
Stream crossing will get your shoes wet so for streams you can bring along Tevas or water shoes. You’re better off taking the time to change shoes for streams and then change back into your boots after drying off your feet.
Other measures that can be taken to prevent blisters on your feet are:
- Sprinkling powder or cornstarch on your feet
- Applying petroleum jelly to a hot spot, while on your hike
- Putting tape on a hot spot where you feel a blister may form
- Wear a snug liner sock to reduce the friction between your skin and your main sock
How to Treat Blisters While Hiking
If you do happen to get a blister on your hike stop and take a break. Examine the blister to see if it’s been broken. If there’s no liquid left then you can apply some sort of disinfecting liquid to it and put a bandage on it (I’m particular to the pain relieving Neosporin myself).
If it’s not broken, you have a decision to make. If it’s still small enough then you can put a band aid or a piece of moleskin over it and monitor it to see if it continues to grow. If it’s grown too large to ignore, you can use a sterile needle to lance it and release the fluid. Make sure that you use a sterile needle (use a flame from a match or a lighter to sterilize it) to pierce a hole in one side of the blister and squeeze all the fluid out. Once it’s empty, disinfect it and apply a bandage to it.
Note: Only lance the blister if you absolutely need to. Lancing a blister can open it up to infection so it’s not necessarily advised if it can be avoided.


